Shabby Blogs Background

Showing posts with label Framelits Labels. Show all posts

Monday, August 27, 2012

Sympathy Card

A friend of mine recently suffered the loss of BOTH her parents within a few weeks of each other. This is the card I made for her.


Here are your links to the products used today:


Sunday, July 29, 2012

Splatter Birthday Card

My eldest daughter attended a birthday party the other day at 4Cats Art Studio and she needed a card. She'd been to a birthday party at 4Cats before - a Splatter Paint party - so she asked me to make her a very specific kind of card. One with paint splatters on it!
Ever the accommodating mother and always up for a challenge, I got to work. Here's what I came up with.


I used Primrose Petals card stock for the base and Patio Party DSP for the back ground accented by a piece of Lucky Limeade 3/8" Ruffled Ribbon. 


To create the splatter effect I used 5 different colours of Mister Huey's mists by Studio Calico (not a Stampin' Up product obviously but I wanted a more opaque look than Stampin' Up inks could have given me) and simply splashed them randomly onto some scraps of Whisper White card stock. I cut out a flower shape using the Floral Frames Framelits dies and an oval label shape using the Labels Collection Framelits Dies. I then stamped the Happy Birthday sentiment from Delightful Dozen in Rose Red and used one of the mists to paint around the edges of each die cut shape.


Popping up the centre piece adds just enough dimension to keep the card from feeling too flat.

Well, there you have it. Hope you liked this latest card creation!

Here are your links for today:
Primrose Petals card stock from the 2012 - 2014 In Colors Collection


Thursday, April 5, 2012

Happy Birthday Christine!

It is Greg's sister Christine's birthday today. Her 40th! Now don't tell her, but we are meeting up later for dinner!! Here's what I have for her.


The colour scheme was inspired by this Stampin' Royalty challenge picture. I translated the colours into Calypso Coral, Daffodil Delight, Lucky Limeade and a little bit of Always Artichoke. I used a card base of Very Vanilla and made a frame using my Labels Collection Framelits. All edges were inked with Soft Suede to give a slight vintage look.


The rolled flowers came about because of this post on Scrapbook & Cards Today and I am really happy with them. I've attempted them before but never been happy with how they looked. For whatever reason, this time they turned out! Here's a closer look at them. 


Clearly, this is not a card you can put into the mail so it's a good thing we will be seeing her in person!
The sentiment is from Create a Cupcake and I had a bit of fun with Christine on the inside. My pictures didn't turn out but inside I used the candle image 41 times (one for luck, you know!) and the sentiment "It's not about how many candles you blow out but how many cupcakes you get!"

Thanks for stopping by. Have a great long weekend everyone!


Sunday, April 1, 2012

Iron Stamper - Saving the Best for Last?

Well, I'm not sure if it's the best of all the projects I made for the competition but it's pretty unique. Take a look  and judge for yourself.

I really wanted to make an Easter card but have no Easter stamp sets so I had to think outside the box. In yesterday's post I extolled the virtues of the simple card - giving something is better than spending so much time making a card than you end up not giving because you've missed the event! I still firmly believe that but to make this card I had to throw out that mentality and GO BIG! I will say that if you are going to go to this much effort with each and every card, you'd better be planning WELL in advance. Something I am not always so good at!

How I made this card: I started with a card base (regular size of 4-1/4" x 5-1/2") of Blushing Bride which I ran through my Big Shot using the Labels Collections Framelits Dies being careful to make sure the card still had a folded edge. I then ran a piece of Whisper White card stock through the Big Shot using the next smaller size Labels Framelits and inked the edges. To create the grass I first used my Woodgrain Background stamp on a piece of Lucky Limeade Textured card stock and then cut it out with the same size Framelit I just used for the Whisper White. I figured out where I wanted it to be on my card and trimmed it to size before using my snips to cut the "grass" fringe. I love these scissors for making super precise, super sharp cuts!
Next was the sun. Quite simply I used my 1-3/8" Circle punch and then cut random "rays" from the same piece of Daffodil Delight card stock. Once I'd adhered them I felt it needed some dimension so I used my Stampin' Write markers to add life to the sun. Next time I would do this step ahead of time because in the process I made a boo-boo on the white back ground. But, since there are no mistakes in paper crafting only "opportunities for embellishment" I stamped out a little bird from the (now gone forever - so sad!) Elementary Elegance stamp set, cut it out and covered up my mistake.

Then I tackled my basket. I will not bore you with the details of how to make this basket (maybe I'll save it for a class or something) but needless to say it was actually pretty easy. 1/4" strips of Chocolate Chip card stock, some patience and a good strong adhesive and Voila! The eggs were another challenge. I don't have an oval shaped punch (now on my wish list!) so I had to cut them free hand. I used my Circle Circus stamp set to create the back grounds and then just cut away. One is adhered directly to the back of the basket and the rest are popped up with Dimensionals. The stuffing is simply some Vellum paper which I ran trough my Crimper and then cut into 1/4" strips. 
I felt the basket needed one last embellishment so I took one of the medium sized Paper Daisies, lightly dipped it in my Blushing Bride ink and then scrunched it up a bit to make it smaller and more layered. To finish it I added one of the Large Pearls.

Phew! That was a lot of talk about a single card!!
This is the last post in my Iron Stamper series. I do hope you've enjoyed it. Do you like seeing a series of projects using the same group of products? Please leave me a comment and perhaps I'll do more of this in the future. Suggestions of product lines or stamp sets would be appreciated. Remember, all comments left on this series will enter you into the draw for a prize. I'll give you all a week to make comments and draw a winner on next Sunday (Easter Sunday!!)
For those of you who received my newsletter today I look forward to seeing you when you cash in your coupon! Enjoy the rest of your weekend everyone!

Sunday, March 25, 2012

Iron Stamper - Card Keeper

As promised, here is the first of my Iron Stamper posts.
First up, my 3-D item - the Birthday Card Keeper.

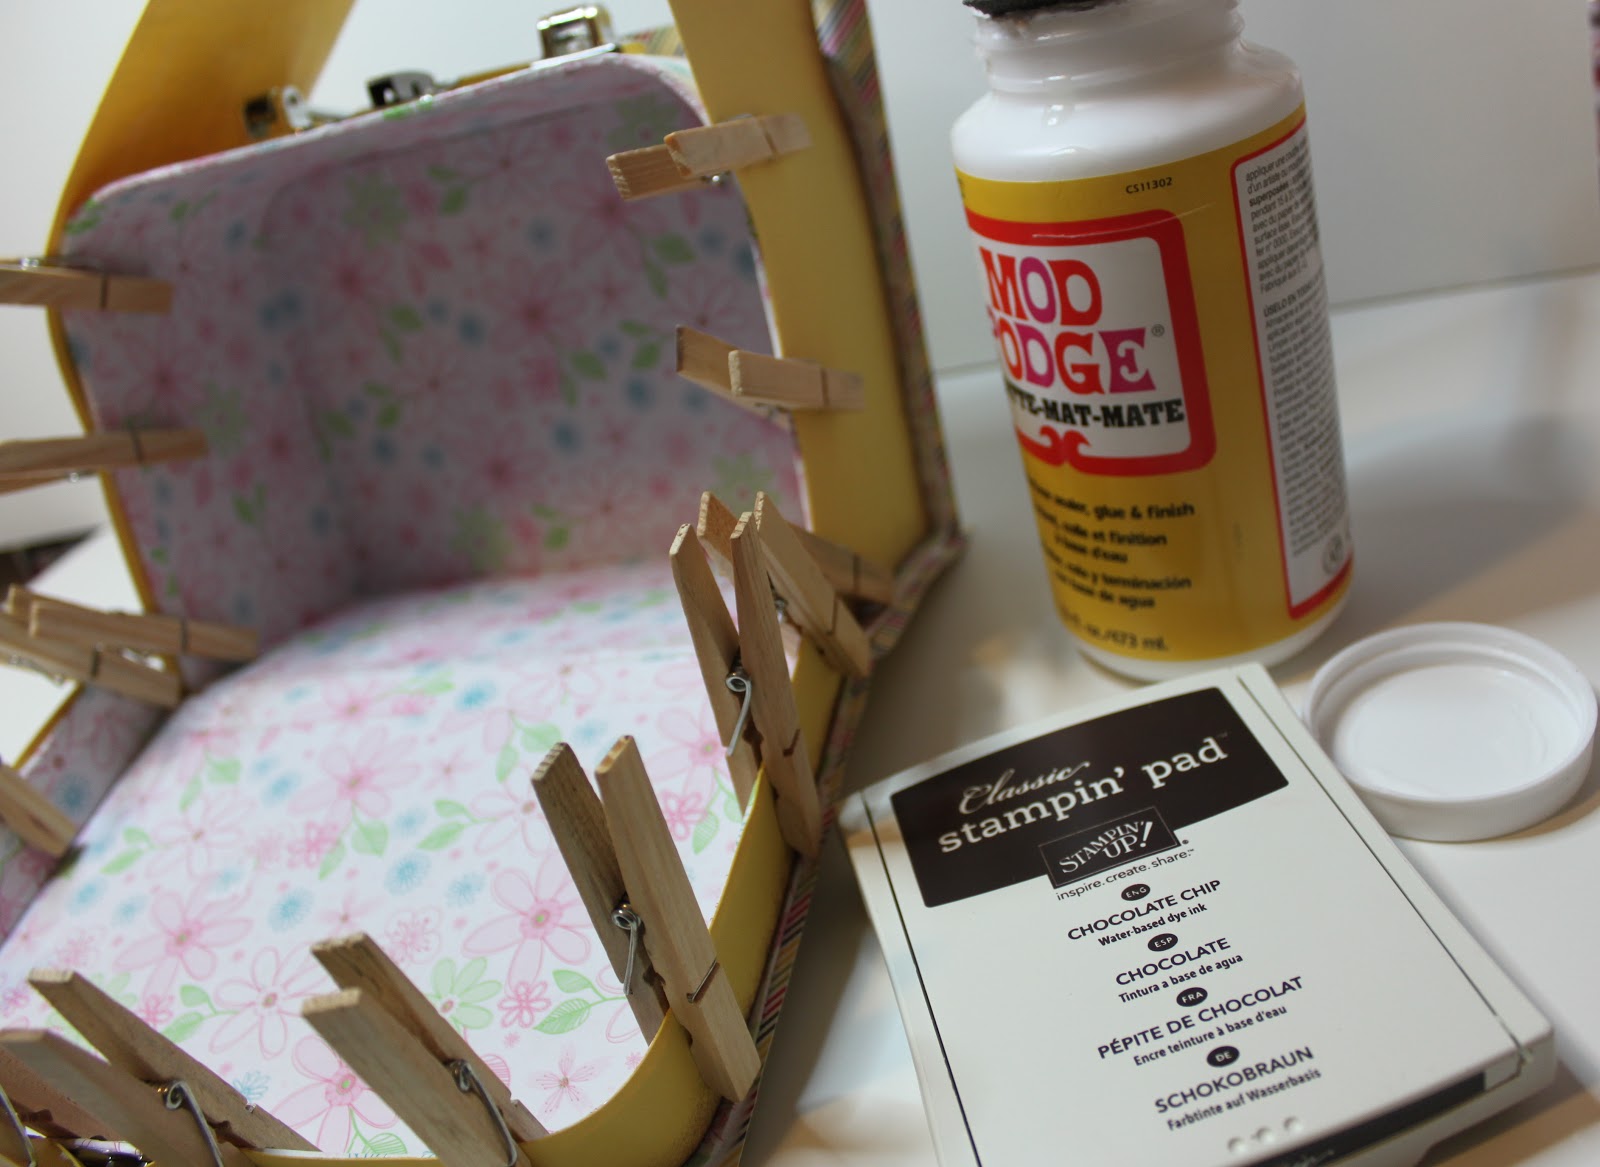
I started with this cute little $2 suitcase from Dollarama.

I cut, inked and pasted card stock to both the inside and outside ... 


to eventually end up with this.

In my entire suite of products I decided to also feature the Spring Fever Simply Scrappin' kit from the Occasions Mini so anytime you see any patterned paper or colours of card stock not in the original Iron Stamper Packet, it's from this kit. 

For the top of the lid I used my Labels Framelits Dies to create this layered frame - which is the perfect place to identify all those that might receive a card from you! The stamps are all from the Family Reunion stamp set - I love how this set covers everyone in your family!

To dress up the lid I added a couple of flowers.  
This one starts with the largest size of Paper Daisy which I had spritzed with Chocolate Chip ink using my Colour Spritzer Tool. On top of that is a stamped, embossed and punched out Regal Rose flower made by using the Mixed Bunch stamp set, white embossing powder and the Blossom punch. Then I added another, smaller, Paper Daisy (also spritzed), a stamped 3/4" circle of Lucky Limeade and a Large Pearl. As a final step I sprayed the entire flower lightly with alcohol spray which made the Chocolate Chip on the top Paper Daisy run to create a cool water colour look. When that top Paper Daisy was wet I scrunched it up and didn't un-scrunch it until it was dry! Oh, and the leaves were made by stamping another image from Mixed Bunch with Lucky Limeade, punching it out with the Blossom punch and then cutting the flower into thirds! 

The other flower on the lid is a simpler version of the one above only this time I didn't spray the whole thing with Alcohol ink.

Here's another look at the front again.
Around the handles (mostly to hide the horrible cut job!) I used more Blossom punched flowers cut to fit plus some of the DSP from the Spring Fever kit. I finished it off by tying a bow with the Whisper White 5/8" Taffeta Ribbon. 

Here is a picture of it open and filled with cards.

Thanks for checking me out! If you enjoy what you see please do leave a comment and make sure you're a follower as I've got a whole week devoted to all the Iron Stamper items you see in this picture above. I wouldn't want you to miss any of them!


Friday, January 6, 2012

Birthday card and notepad gift set

Okay, I promised a view of the gift I made for my aunt. Here it is ...


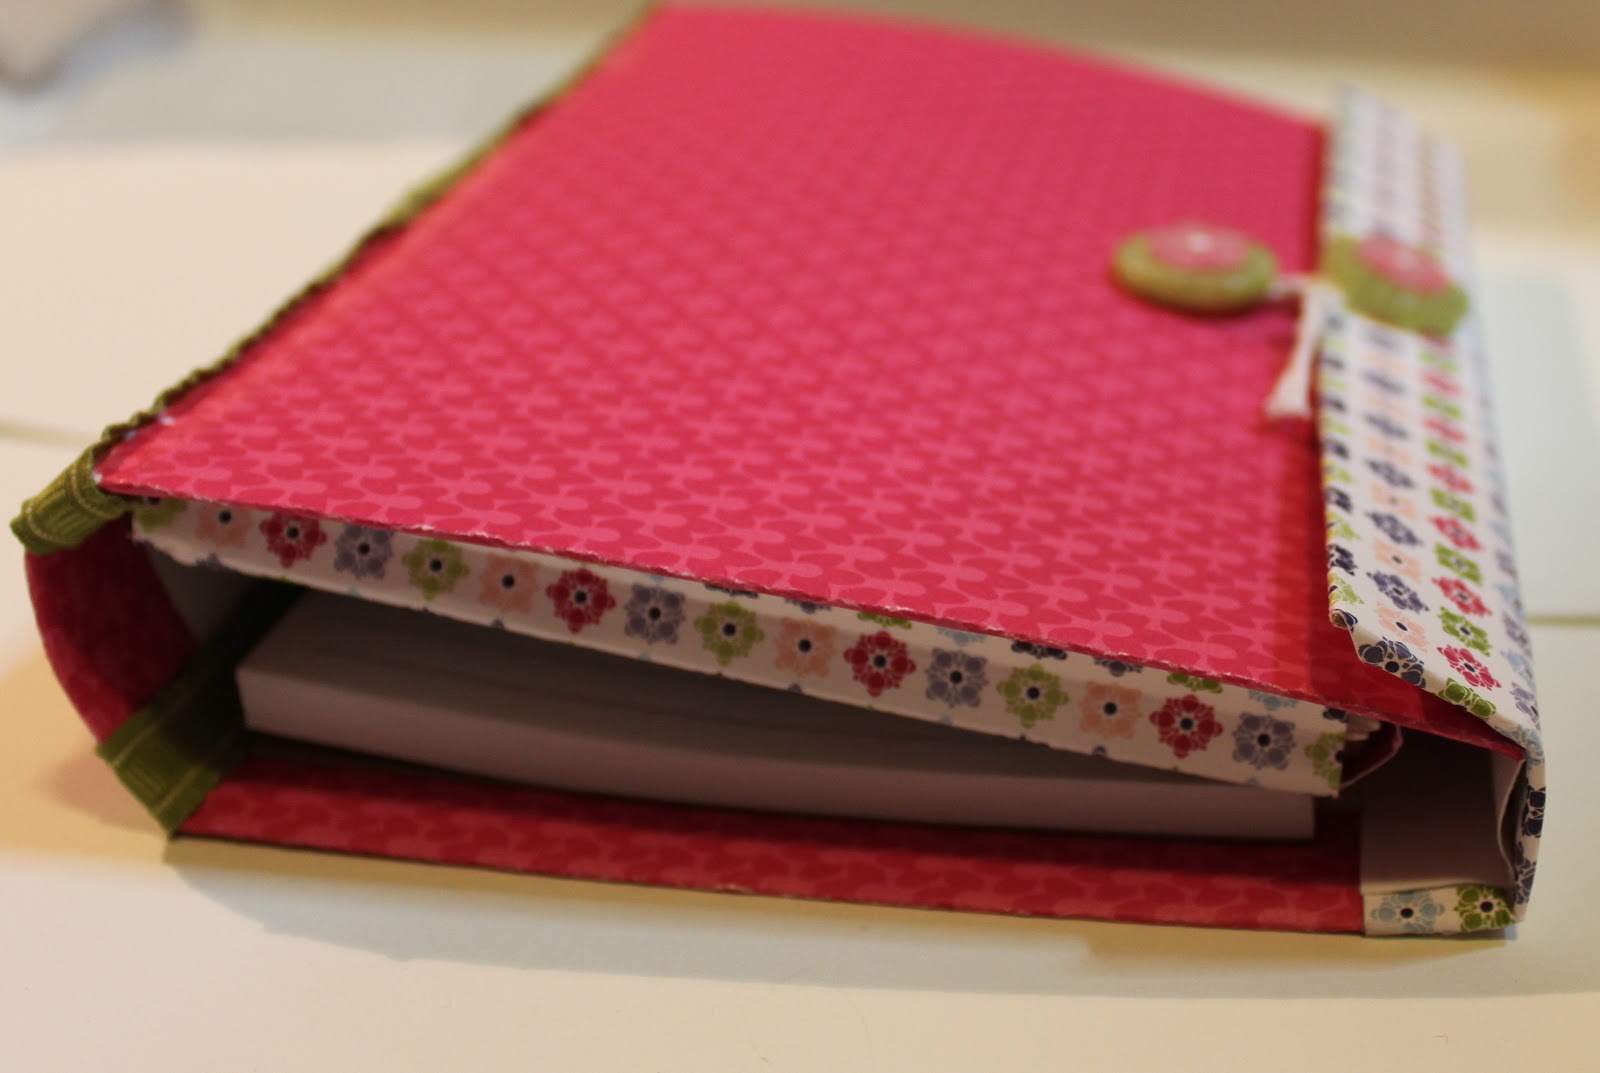
I covered a piece of thin card board (actually, a cut down cereal box) with some Cheerful Treat DSP  and then added a note pad and a pocket to contain some cards.  


Here are the cards I made. I had some fun with the products and techniques for each card.
These first two may seem occasion/gender specific but I truly believe they can be used for any number of occasions. Graduation, marriage/engagement, new job, baby, etc.


I embossed the background paper then inked the edges with Soft Suede. The sentiment was cut out using the new Framelits Label Collection and stamped with the Elementary Elegance stamp set (available soon - it's in the Sale-a-Bration catty!) Believe it or not, the two pieces of striped patterned paper are from the same sheet of paper! See how where you cut out your label shape changes the entire look of the paper? Makes Stampin' Up!'s DSPs so versatile.

For this card I embossed the Melon Mambo card stock and then used my 2 1/2" circle punch to punch out the circle and half circles. The background image was created using various stamps from the Circle Circus stamp set in Melon Mambo, Blushing Bride and Concord Crush. For a little bit of sparkle I added some rhinestones. (I see that one has gone wandering ... oh well, too late to fix it now!)

For this one I used my Scalloped Trim Border punch all around a piece of Lucky Limeade card stock which I then stamped in Lucky Limeade with an image from the Take It To Heart stamp set. A banner in Melon Mambo and a few pearls finished it off.

This one may be my favourite. The butterflies are cut and embossed using the Beautiful Wings Embosslit die. I added the little antenae with a Stampin' Write marker. The curvy sentiment is from the Flight of the Butterfly stamp set.

And last but not least, I embossed the Concord Crush card stock and then rubbed some Whisper White Craft ink over the embossed image. Love that effect! The middle cut out was inked (liberally) with Lucky Limeade and an image from the Posy Punch stamp set was stamped in the middle. The Happy Birthday is popped up with Dimensionals.


To help keep things closed, I added these buttons and used some Bakers Twine to join them together.

Some Lucky Limeade Ruffled edge ribbon along the spine finishes things off.

Hope she likes it! Clicking on any of the links above will take you to my on-line store in case you want to purchase any of the products or check out pricing information. To see the new Occasions Mini, please click here.

Tuesday, January 3, 2012

Occasions Mini Birthday cards

HAPPY NEW YEAR! Hope you had a wonderful Holiday Season with your family and friends.

A few days ago, my Upline Sandra came over with her kids for a play date. Really, WE wanted to play! We'd both received our pre-order shipments from the Occaions Mini and Sale-a-bration catties and wanted to try out some of the new items. So we made sure the kids were fully engrossed in Lego or Wii and we got busy!

I have 2 aunts with birthdays coming up so I made a couple birthday cards.
This was the first one I made. I used Very Vanilla Card stock for the base and stamped it in Lucky Limeade with the butterfly image from the Sale-a-bration stamp set Elementary Elegance. The circle is punched out of Blushing Bride card stock with my 2 1/2" circle punch. Then the flower .. ah, the flower ... There is a new stamp set with matching punch in the Occasions mini that I LOVE! It's called Mixed Bunch and the punch is called Blossom. I stamped the top image and then both punched and fussy-cut it out and mounted it on top of another punched out flower from the Twitterpated DSP (see below for a close up of the flower). I held everything together with a brad from the Sale-a-bration Everyday Enchantment Ribbon & Brad pack. 
The ribbon along the bottom of the card is the new 3/8" Pleated Satin Ribbon in Blushing Bride and the Happy Birthday tag is cut out using the new Framelits Dies - Labels Collection.


I liked the design so much I did it again.


This time the background stamp I used is from the Mixed Bunch stamp set and I used Basic Grey ink and Baja Breeze card stock and pleated ribbon.

Hope my aunties like these cards! I also made a set of birthday cards for one of my aunts but I'll show you that in a few days (just in case she checks!)

Thanks for stopping by. The Occasions Mini catalogue goes live tomorrow so check my website for ordering information. Sale-a-bration starts on Januray 24th. For every $60 you spend on Stampin' Up! merchandise, you get a free item from the list.  If you are in need of some staples this would be a good time to stock up! You still have a few days to order Clearance Rack Blitz items - they go away after January 5th so act fast! These deals are A-MAZ-ING!!!

Have a good evening - see you soon!