Shabby Blogs Background

Showing posts with label Mixed Bunch. Show all posts

Tuesday, September 18, 2012

When is a Flower not a Flower?

Today over at the Practical Scrappers Blog, we are giving you 9 ideas that will answer that question. My answer?


When it's a BUTTERFLY!


This card is destined for someone I've never met in person but who I've become online friends with through my ScrapHappy group. (If you are interested in joining Scraphappy just click on the link.) We were challenged by Stacey Julian at Big Picture Classes to send out "Happy Mail" so this is what I am doing. What is Happy Mail, you ask? Real letters and cards that you send for no reason other than that you were thinking of that person and wanted to let them know in a non-electronic way! WAY better than the usual bills and junk mail fliers you find in your mailbox, right?

Anyway, I'm off topic. Here is a quick tutorial showing how I made this butterfly out of my flower punch.

Step One: Stamp this image from Mixed Bunch. I used Midnight Muse ink on Summer Starfruit card stock.

Step Two: Punch it out using the coordinating Blossom Punch.

You are left with a flower that looks like this. Can you see the butterfly hiding inside it?

Step Three: Cut out the butterfly as shown.
Easy right? Now you just need to attach it to your card or layout and embellish as desired.

Thanks for stopping by today. If you haven't yet seen all the other ideas of what to do with your flower punch, I encourage you to pop over to the Practical Scrappers Blog and check them out.

Here are your links for Stampin' Up! products used on this card.

Tuesday, April 3, 2012

Mixed Bunch Cased Card

Today I want to show you how you can take a card that someone else has made and make it your own.

We've all been there. You need a card but the inspiration well is dry. Staring at all your beautiful products just seems to make it worse. Where to begin?

This was the situation I faced this past Saturday. My husband had invited the families of our two oldest girls' soccer teams over for an End of Season BBQ (in the pouring rain ... but I digress). He's coached our girls since Marley started playing 3 years ago and this year he is saying good bye to one particular player who he has coached for 2 years - first with Marley's team and then with Paige's team. Her mother has also been an integral part of the team, as Assistant Coach and General All-around Go-to Person, so he asked me to make a Thank You card for her. Two hours before the party started! Now, I am a BIG proponent of the Quick Card but pulling off 3 cards (one for her, one for her daughter and then another for the Team Manager of the other team) in that amount of time while still finishing the prep for the party was a bit much.

My fellow Stampin' Up! Demonstrators to the rescue! We regularly meet and swap cards so I just looked at my Swaps Board, picked one then went hunting for similar products. This one is by Maureen Pollock (I looked to see if she had a site you could check out but can't find one - sorry.)


And this was what I came up with.


I started with a piece of Calypso Coral card stock and layered a piece from the Everyday Enchantment DSP pack from the Sale-a-Bration promotion. (I know that's all over with now but I've still got some and it was really nice stuff so it's just going to creep into the odd project or two!) I embossed an image from Mixed Bunch with White Embossing powder and then used my Blossom punch to create the 3 flowers. The sentiment is from Thank You Kindly and is also embossed in white.

Here's a close up of the embossed flowers. I added a Large Pearl jewel accent to the middle of the middle flower and tied a piece of (now no longer available) Calypso Coral 1/8" Organdy Ribbon around the whole grouping.

Inside I embossed a couple images from Flight of the Butterfly.

Tomorrow I'll show you the one I made for her daughter. It features the stamp set I'll be high lighting in my Birthday Cards for All Ages class on the 13th - more details tomorrow.
Hope you're having a great Tuesday. I've now got to organize a birthday party and find a babysitter for Thursday night! Gack!!


Monday, April 2, 2012

New Class - Mother's Day Gift Box Set

Come on out and create this gorgeous gift box display for your Mom.


As a Mother myself I know how much we do for our families and am always in awe of all MY Mum did for me. I lost her at the age of 14 and gained a new Mom who is equally dedicated, loving and supportive. I do have problems coming up with what to give her each year though. As a recipient now of many a hand made item, and as an avid Crafter myself (shocking, I know), I turn to what I know and love to inspire me. This year, Ina will be receiving these little boxes filled with her favourite goodies (Licorice All Sorts!).


How about  you? Wouldn't YOUR Mom appreciate receiving these from you this year? 

Cost - $15.00
Includes: all supplies necessary to make the boxes in the picture above.
Does NOT include: goodies to go inside the boxes!!
Please bring your own scissors, bone folder and adhesives. 

IMPORTANT: RSVP by April 11, 2012 otherwise I can not guarantee I will have enough product to go around! You can RSVP on my website if you plan to pay by cheque or cash or use my Eventbrite site if you'd like to pay by credit card. I will ONLY be ordering enough product for those registered so be sure to sign up early to avoid disappointment!


No matter how old we are we still need to show our love and appreciation for all our Mom's do and have done for us over the years. This box set can be used as Home Decor to remind your Mom how much you love her after the goodies you fill it up with are long gone. These boxes are food safe so fill them up with your Mom's favourite chocolates, cookies, candies or anything else she would love.


Hope to see you there!

PS - If you can't make it but would still like to make this gift set, you can purchase the supplies to make it yourself along with my Step-by-Step instructions for $10.00. This will NOT include the stamped or embossed images though. I encourage you to use your own supplies of stamps and punches to make it your own or order what you need from me.

Wednesday, March 28, 2012

Iron Stamper - Class-Style Card

Welcome back! Are you enjoying this series? Please leave a comment and at the end of the series I will draw a name and send them a little goody bag!

Today we are taking a look at a Class-Style Card. This is the type of card that had more layers and uses more techniques so it generally doesn't get done during workshops purely due to time constraints. This one takes the general premise of my 5-Minute Card from yesterday and adds to it. 

As you can see, I've started with the Hello, Doily stamp on the base piece of Whisper White card stock. This time though I've stamped it in Lucky Limeade. Then I created the embellishments. 
First up is the layered square. I started with a piece of Daffodil Delight card stock which I stamped with an image from Mixed Bunch in both Daffodil Delight and Blushing Bride. I layered it onto a piece of Chocolate Chip and then a piece of Regal Rose. I wrapped the whole thing with the 5/8" Whisper White Organza Ribbon, tied a knot, added some Basic Pearls and a Large Pearl and called it done!

Here's a close up of the pearl accents, ribbon etc.

Once I attached the square embellishment I knew I wanted to add another embellishment into the middle of the doily image. I punched out a Blossom, inked the edges with Chocolate Chip then layered on a Fleurettes II Accents and Elements and a stamped Lucky Limeade circle (image taken from Mixed Bunch).

There you go. Hopefully I've shown you how you can take a simple card and jazz it up to make it whatever you want it to be.

Reminders: this is the FINAL WEEK to earn FREE Sale-A-Bration products with every order. Purchases of $60 get you one free item!
Sign up for my newsletter in the side bar to receive a FREE COUPON with April's newsletter.
Leave a comment to win a prize at the end of this series - become a follower so you don't miss out on any of the series!

Monday, March 26, 2012

Iron Stamper - Progressive Layout

Welcome back! Next up in my Iron Stamper series is my layout. This is called a Progressive layout as you start with a small sized layout (in my case an 8x8 layout) which you mount onto increasingly larger sizes until you finally have a 12x12 layout.

Here's the finished layout.
Isn't she gorgeous? That's my youngest, Christine, taken last Easter on an egg hunt. Just love the close up of her chocolate covered face!!

Here is my 8x8 page. 
I started with an 8x8 piece of Blushing Bride card stock to which I added a strip of one of the patterned papers from the Spring Fever Simply Scrappin' kit and a punched border strip of Chocolate Chip. The photo is mounted onto a piece of 5x7 Whisper White card stock. Across the bottom I stamped and embossed my favourite image from the Mixed Bunch stamp set. I used my Jayne's Type Alphabet stamps for the 'C' which I mounted behind the 1-1/2x2" Beveled Window Pane (also in my Iron Stamper kit but I forgot to mention it before - oops!) I threaded the 5/8" Whisper White Organza Ribbon through the Window Pane and, to help it pop, mounted it onto a Lucky Limeade Blossom over a sticker from the Simply Scrappin' kit.


Next I created this 8-1/2x11" page.


I used my Hello Doily stamp to stamp a Blushing Bride doily slightly off the page and embellished it with a Large Pearl. I then mounted this piece of Whisper White card stock onto an 8-1/2x11" piece of Chocolate Chip card stock. The title took me a bit of time to figure out. I started with my Alphabet Soup On Board letters to which I adhered some Daffodil Delight card stock. I inked the edges in Chocolate Chip but they still looked flat so I stamped them with the Mixed Bunch stamp that I'd used on the 8x8 page - in tone on tone Daffodil Delight. 


The little picture of Christine was mounted onto Chocolate Chip card stock and I used Dimensionals to pop it off the page even more. Behind the picture is a cluster of stickers from the Simply Scrappin' kit.

And last but not least, my 12x12 base layer. I started with the vertical strip of patterned paper from the Simply Scrappin' kit then added a strip of Daffodil Delight card stock that I'd edged with my Scallop Trim Border punch. On top of that is a border sticker from the Simply Scrappin' kit and then finally 3 more pictures of my cutey mounted onto Melon Mambo card stock (from the SS kit).  

Across the top of the page I put some stickers from the SS kit and finally, in the corner another stamped, embossed and punched out Blossom with a Fluerettes II Accent and Embellishment and a Large Pearl layered on top. This whole flower sits on top of a tiny piece of 3/8" Blushing Bride Pleated Ribbon.

Here's a look at it coming together.
The starting 8x8 page.

Added onto the 8-1/2x11 page.

And finally, here's another look at the finished 12x12 page. 

I will freely admit that this page took me awhile with lots of trial and error but the final result is (IMHO) stunning! I love all the layers! I would never have incorporated so many if I hadn't been purposefully making this a progressive page but I think I will have to use this approach again.

Hope you enjoyed it. Stay tuned for my cards!


Sunday, March 25, 2012

Iron Stamper - Card Keeper

As promised, here is the first of my Iron Stamper posts.
First up, my 3-D item - the Birthday Card Keeper.

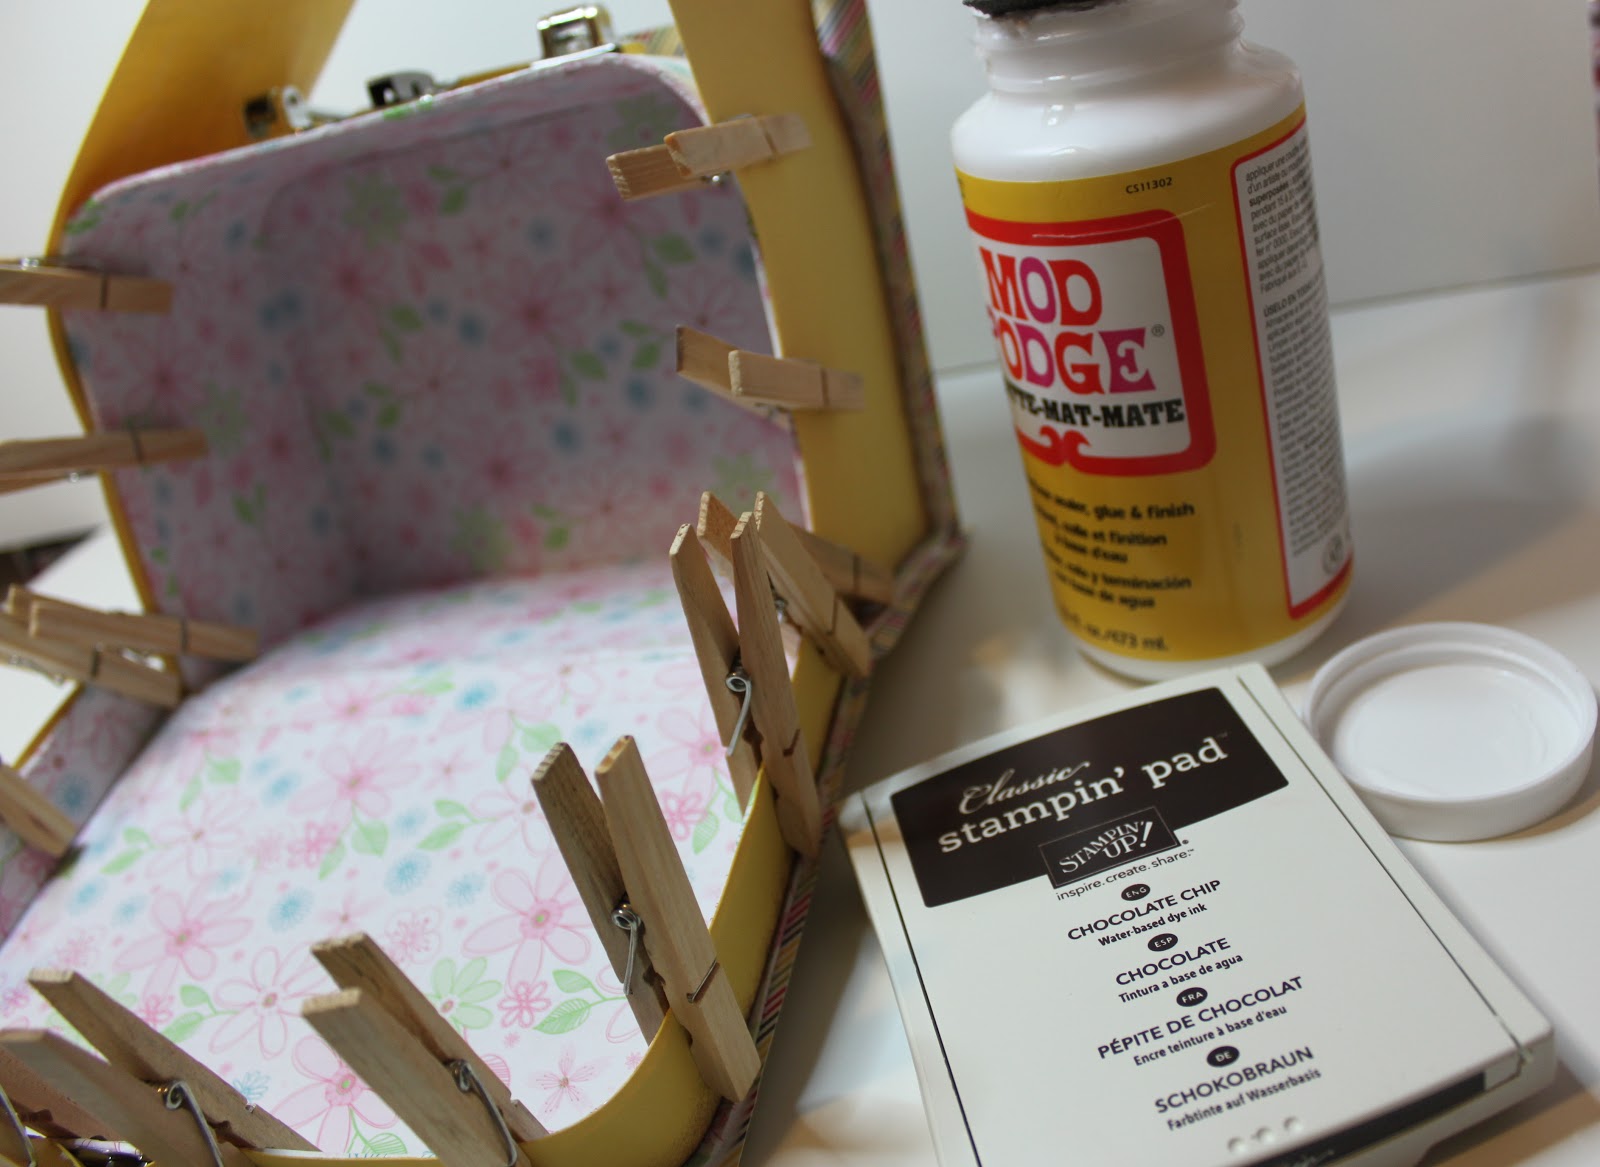
I started with this cute little $2 suitcase from Dollarama.

I cut, inked and pasted card stock to both the inside and outside ... 


to eventually end up with this.

In my entire suite of products I decided to also feature the Spring Fever Simply Scrappin' kit from the Occasions Mini so anytime you see any patterned paper or colours of card stock not in the original Iron Stamper Packet, it's from this kit. 

For the top of the lid I used my Labels Framelits Dies to create this layered frame - which is the perfect place to identify all those that might receive a card from you! The stamps are all from the Family Reunion stamp set - I love how this set covers everyone in your family!

To dress up the lid I added a couple of flowers.  
This one starts with the largest size of Paper Daisy which I had spritzed with Chocolate Chip ink using my Colour Spritzer Tool. On top of that is a stamped, embossed and punched out Regal Rose flower made by using the Mixed Bunch stamp set, white embossing powder and the Blossom punch. Then I added another, smaller, Paper Daisy (also spritzed), a stamped 3/4" circle of Lucky Limeade and a Large Pearl. As a final step I sprayed the entire flower lightly with alcohol spray which made the Chocolate Chip on the top Paper Daisy run to create a cool water colour look. When that top Paper Daisy was wet I scrunched it up and didn't un-scrunch it until it was dry! Oh, and the leaves were made by stamping another image from Mixed Bunch with Lucky Limeade, punching it out with the Blossom punch and then cutting the flower into thirds! 

The other flower on the lid is a simpler version of the one above only this time I didn't spray the whole thing with Alcohol ink.

Here's another look at the front again.
Around the handles (mostly to hide the horrible cut job!) I used more Blossom punched flowers cut to fit plus some of the DSP from the Spring Fever kit. I finished it off by tying a bow with the Whisper White 5/8" Taffeta Ribbon. 

Here is a picture of it open and filled with cards.

Thanks for checking me out! If you enjoy what you see please do leave a comment and make sure you're a follower as I've got a whole week devoted to all the Iron Stamper items you see in this picture above. I wouldn't want you to miss any of them!


Tuesday, January 3, 2012

Occasions Mini Birthday cards

HAPPY NEW YEAR! Hope you had a wonderful Holiday Season with your family and friends.

A few days ago, my Upline Sandra came over with her kids for a play date. Really, WE wanted to play! We'd both received our pre-order shipments from the Occaions Mini and Sale-a-bration catties and wanted to try out some of the new items. So we made sure the kids were fully engrossed in Lego or Wii and we got busy!

I have 2 aunts with birthdays coming up so I made a couple birthday cards.
This was the first one I made. I used Very Vanilla Card stock for the base and stamped it in Lucky Limeade with the butterfly image from the Sale-a-bration stamp set Elementary Elegance. The circle is punched out of Blushing Bride card stock with my 2 1/2" circle punch. Then the flower .. ah, the flower ... There is a new stamp set with matching punch in the Occasions mini that I LOVE! It's called Mixed Bunch and the punch is called Blossom. I stamped the top image and then both punched and fussy-cut it out and mounted it on top of another punched out flower from the Twitterpated DSP (see below for a close up of the flower). I held everything together with a brad from the Sale-a-bration Everyday Enchantment Ribbon & Brad pack. 
The ribbon along the bottom of the card is the new 3/8" Pleated Satin Ribbon in Blushing Bride and the Happy Birthday tag is cut out using the new Framelits Dies - Labels Collection.


I liked the design so much I did it again.


This time the background stamp I used is from the Mixed Bunch stamp set and I used Basic Grey ink and Baja Breeze card stock and pleated ribbon.

Hope my aunties like these cards! I also made a set of birthday cards for one of my aunts but I'll show you that in a few days (just in case she checks!)

Thanks for stopping by. The Occasions Mini catalogue goes live tomorrow so check my website for ordering information. Sale-a-bration starts on Januray 24th. For every $60 you spend on Stampin' Up! merchandise, you get a free item from the list.  If you are in need of some staples this would be a good time to stock up! You still have a few days to order Clearance Rack Blitz items - they go away after January 5th so act fast! These deals are A-MAZ-ING!!!

Have a good evening - see you soon!